
The Tattoo
Process
Every tattoo begins with a conversation and ends with a commitment to craft. Here's how we work — from your first idea to healed ink.
Consultation
Design
Session
Aftercare
Consultation
Your vision, our craft
Every custom tattoo at Assassin Tattoo & Piercing in Houston starts with a real conversation — about what you want, where it lives on your body, and how we'll make it permanent art you'll carry for life.
What we cover
- Concept & reference direction
- Placement and scale on the body
- Style match to the right artist
- Timeline and pricing estimate
Consultations are free — in studio or via our booking form. Visit us at 604 Westheimer Rd, Houston, TX 77006 or start online through our booking page. Bring reference images and come ready to talk honestly about what you want. The clearer your direction, the better we can design something made specifically for you.
After the consultation, you'll receive a price estimate and timeline. A deposit secures your appointment and begins the design phase.
- Bring references — photos, sketches, anything visual
- Be direct about budget and timeline
- Ask about placement options and long-term aging
- Discuss your skin tone and healing history
- Copying another artist's custom work exactly
- Booking before you're certain about the concept
- Making a rushed decision on placement
- Staying silent when something feels off
Design
Custom artwork, built for your skin
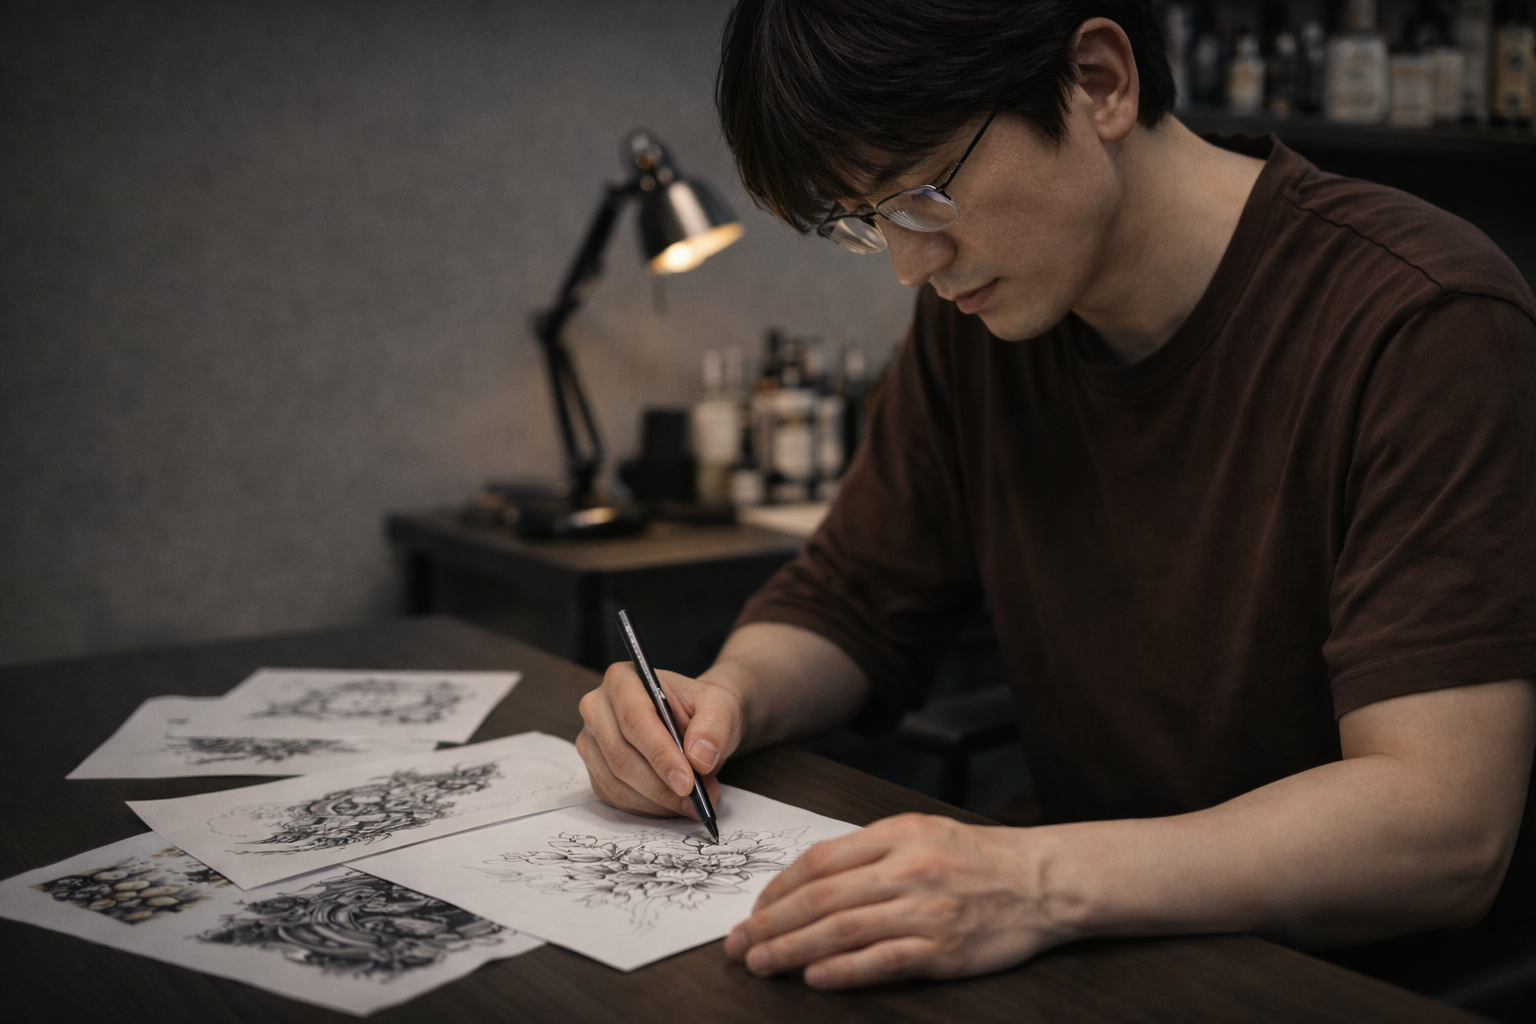
Every piece is drawn from scratch. Your artist works from your brief, your references, and years of reading how designs translate onto skin — then presents a draft for your input before anything touches your body.
The design process
- Custom artwork drawn for your brief
- Revision rounds until it's right
- Final stencil scaled to your placement
- Your sign-off before we begin
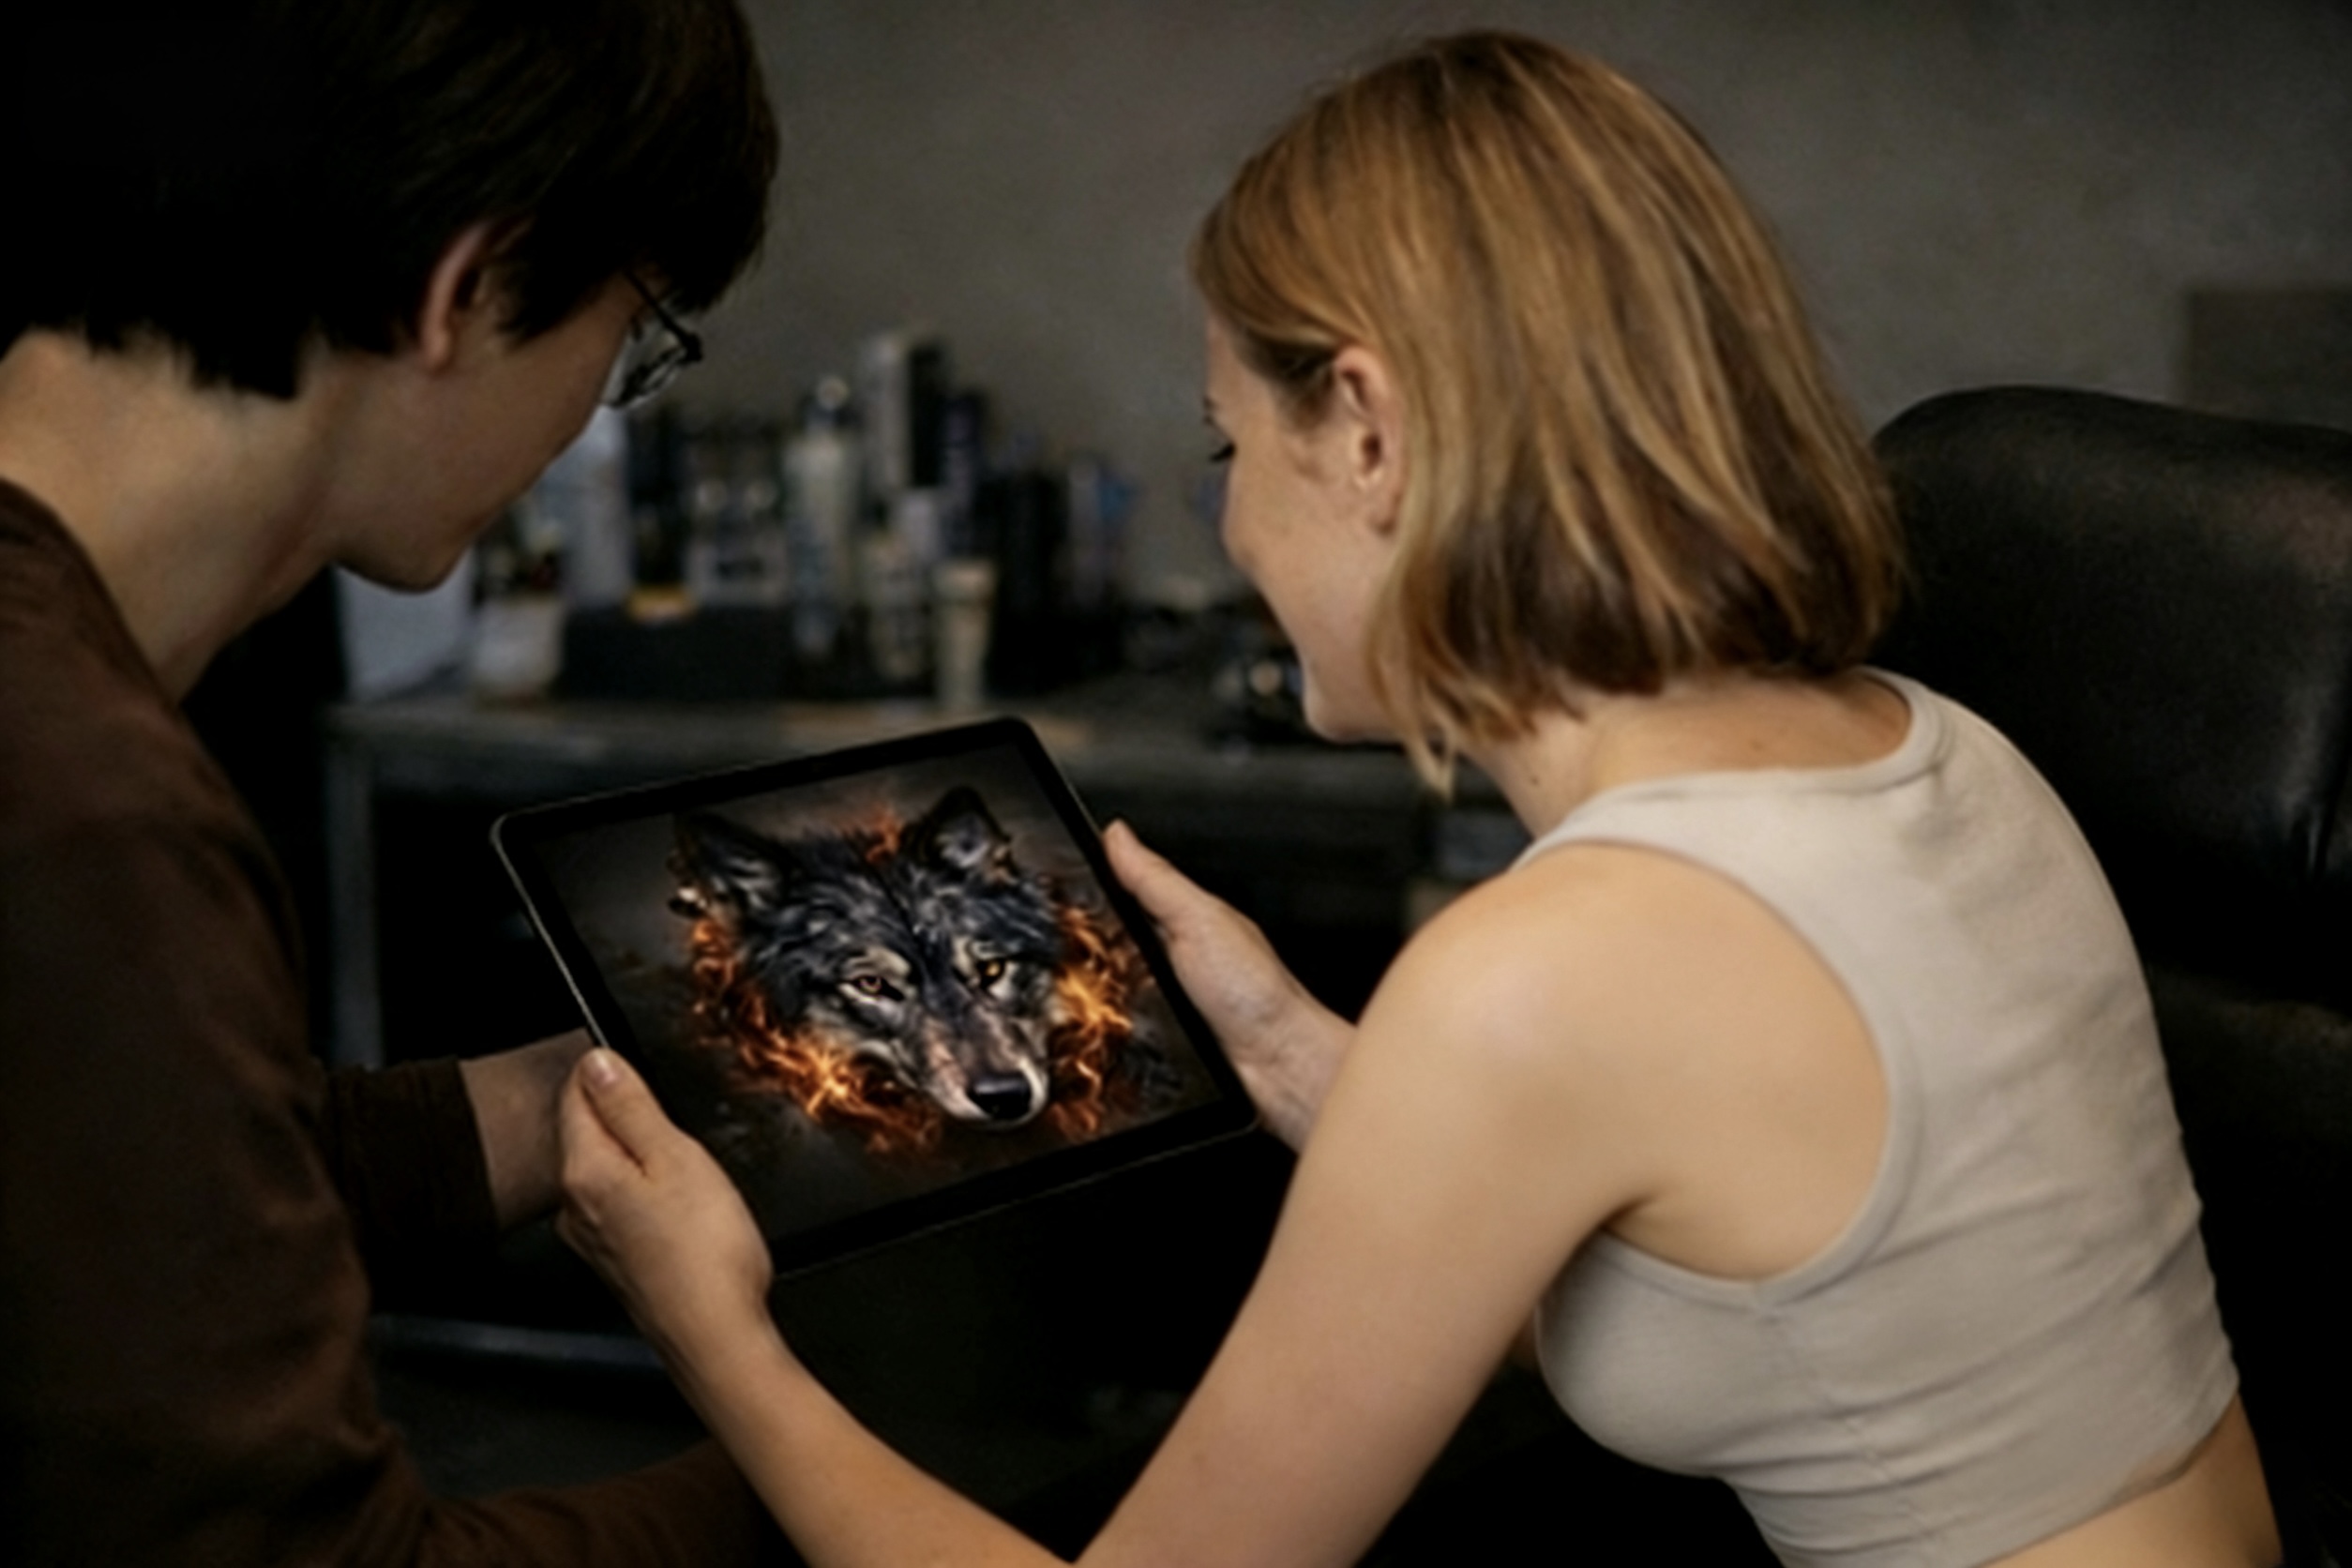
Want to explore directions before your session? InkGen generates concept references you can bring to your artist.
Design work typically happens in the days before your session. You'll see a draft and have the chance to request changes — we don't apply the stencil until you're fully satisfied with the direction and proportions.
Your Session
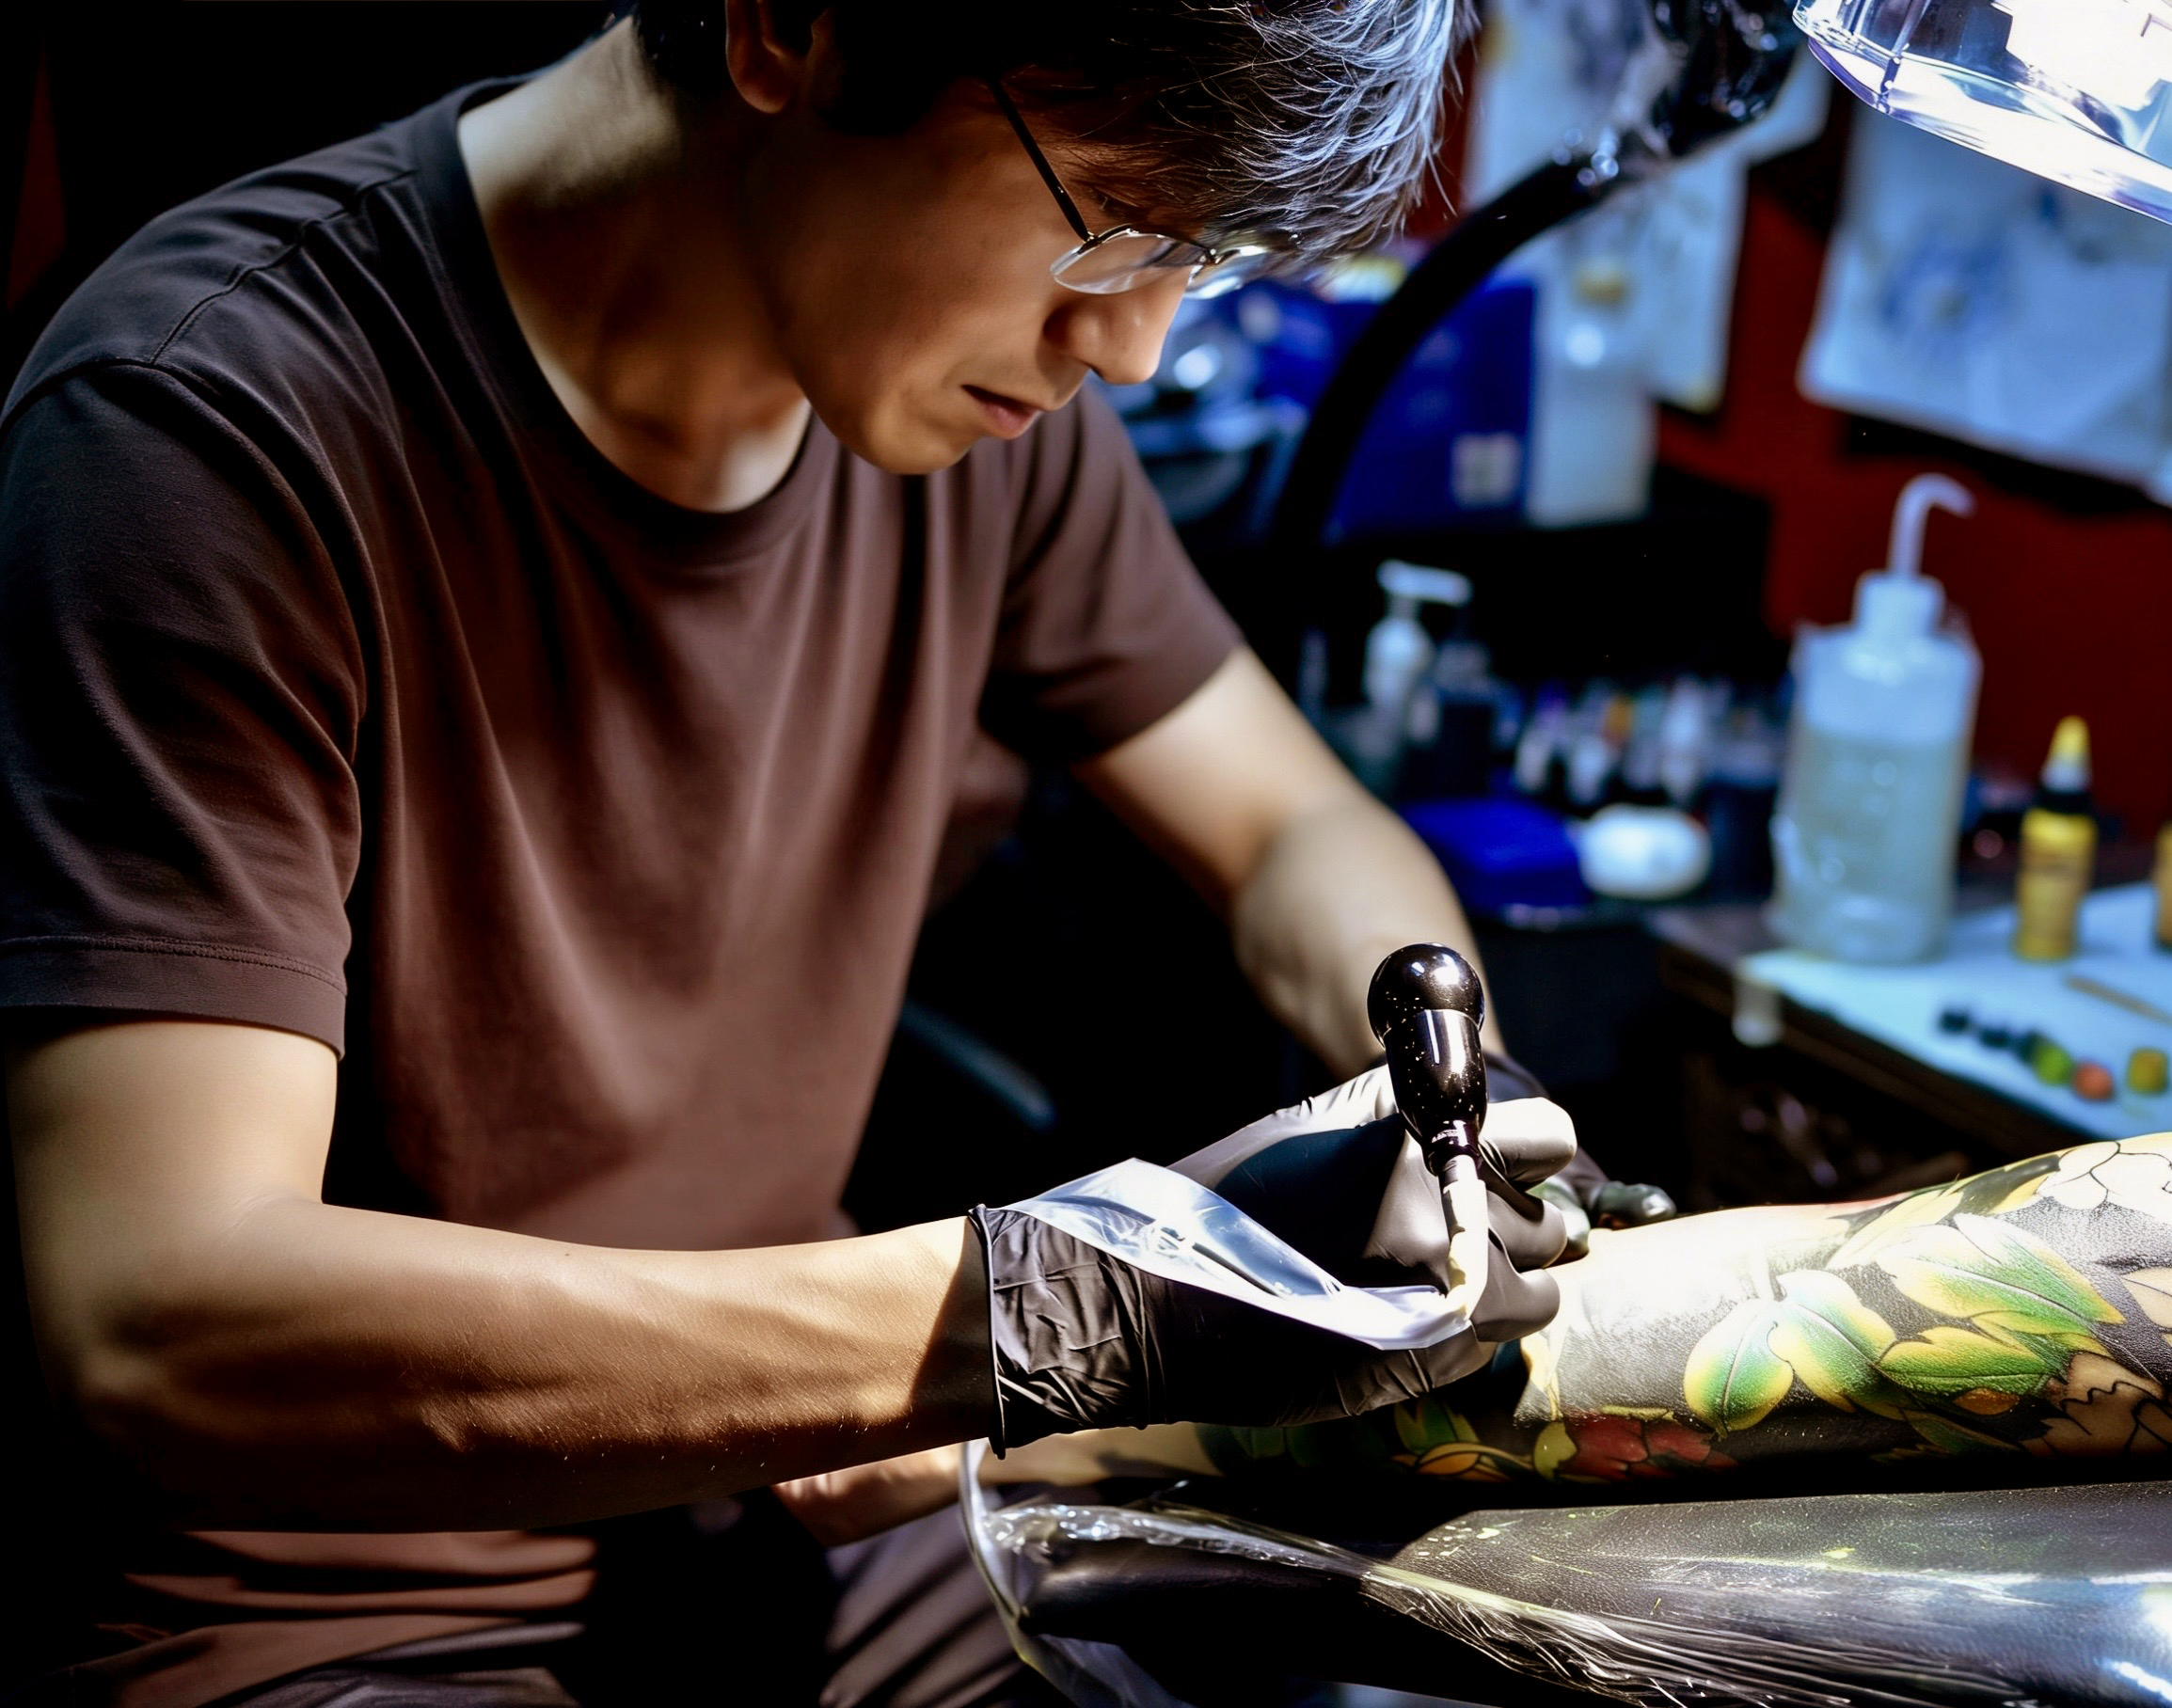
Where design becomes permanent
Your tattoo session takes place in a clean, professional studio environment — where focus, precision, and comfort come first. Session length depends on the piece — from a focused single session to multi-day work for larger projects. We set the pace around your comfort.
On the day
- Stencil placement — reviewed and approved before we start
- Clean studio setup, sterile equipment
- Breaks taken as needed, no rushing
- Final wrap and aftercare walkthrough
Eat a full meal before arriving and stay well hydrated. Wear loose clothing that gives easy access to the area being worked on. Avoid alcohol for at least 24 hours prior — it affects bleeding and ink saturation.
When we're done, your artist will apply Second Skin or a traditional wrap and walk you through what to expect over the next few days.
Healing & Aftercare
Our work ends when you leave the studio. Yours begins the moment you walk out the door.
Second Skin Film
Medical-grade, breathable, waterproof. The film creates a sealed environment that protects the tattoo, reduces scabbing, and keeps ink from oxidizing in the first critical days.
- No direct sun exposure while healing
- Avoid submerging in water — showers only
- Do not peel, scratch, or lift the edges
Traditional Wrap
A proven method for those with sensitive skin or in high-movement areas. Requires more active care in the first 72 hours, but works well with the right discipline.
- No direct sun exposure while healing
- Avoid submerging in water — showers only
- Do not peel, scratch, or lift the edges
Days 1–2
Leave it alone
Plasma and ink pooling under the film is normal — it means the tattoo is sealing. Keep the film on and don't touch it.
Days 3–5
Remove and hydrate
Peel the film slowly under warm running water. Apply a thin, unscented aftercare balm to keep the skin barrier intact.
Weeks 1–2
Flaking — let it happen
The outer layers shed. This is normal. Keep it clean and moisturized — never force the peeling. The ink underneath is settling.
After 2–4 Hours
First clean
Remove the wrap and wash gently with lukewarm water and a fragrance-free soap. Pat — don't rub — dry with a clean paper towel.
Days 1–3
Clean only, no product
Wash 2–3 times daily. Keep the area dry between washes. No ointment at this stage — let the skin breathe and begin to set.
From Day 4
Begin moisturizing
Introduce a small amount of unscented aftercare balm daily. Continue consistently for 4–6 weeks until the skin fully heals.
Common Questions
What clients ask us before their first — and second — tattoo.

Assassin Tattoo & Piercing · 604 Westheimer Rd, Houston, TX 77006 · (832) 985-9999 · Open Daily 2 PM – 10:30 PM